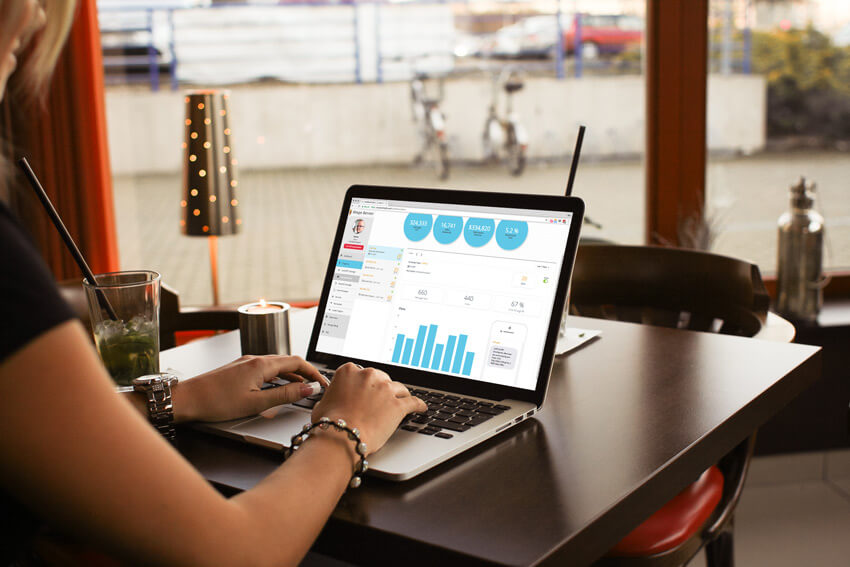
Marketing Automation Tools – Step-by-Step instructions to creating the perfect auto-responder cycle
In case you aren’t utilizing the marketing automation tools included with the TL Connects’ customer engagement platform, I wanted to give a step-by-step account showing you how to set up your first auto-responder. Also, if you have set up one, I am going to illustrate how to set up the perfect auto-responder cycle of four separate auto-responders that will consistently & automatically work for you to keep your customers fully engaged & yearning to return to your store. It is super easy and quick to do and you will be amazed at the results these marketing automation tools can get for you.
Auto-responders send text message alerts to your subscribers automatically after certain criteria is met. Such as, a customer doesn’t check-in for a set period of time, say 30 days. The messages alert the customer that if they return within at least seven days of receiving the message, they can redeem the offer that you set-up.
First things first, if you have never created an auto-responder, here are the easy steps:
- Go to my.tlconnects.com/
- Then click the “Programs” section to open the sub-menu and then click the “Auto-Responders” tab.
- Click the “+ New Auto-Responder” button.
- For this example, we will do the “We Miss You” offer, as we always recommend having at least one of them created. For best results, we recommend four as I will illustrate later in the this article.
- Type in the Redeemable Kiosk Offer. (This is the offer your customers will get upon returning).
- Select the days before the offer expires. (Days valid to redeem the offer before it expires)
- Set the period of time to send the message. (ex. “15 days after last check-in” will send to a customer after he has gone 15 days without a check-in).
- If you choose to add an image to the text, click “Add Image”, then upload the image you wish to attach. Adding an image will convert the message to an MMS message, which are proven to be more powerful in mobile marketing.
- Check the preview to make sure it reads like you want it to. If so, click “Next”.
- Review all the options and the preview to confirm everything is correct. If so, click “Create Auto-Responder”.
That is all there is to it. It is that easy. The auto-responder is now created and will start sending to all customers who fit the criteria. You will start seeing real-time results on this same auto-responder page in your user dashboard at my.tlconnects.com/AutoResponders/. Be sure to check the messages sent, redemptions, rate, revenue generated and more to see how well it is responding. You can check the overall performance or break it down in last 7 days, last month, last quarter, etc. These marketing automation tools can be very powerful and I hope you fully take advantage of them.
Now put a series of auto-responders together in a cycle.
Now, that leads to part two of this how-to article, Creating the perfect auto-responder cycle. Setting up one auto-responder is absolutely vital to your mobile marketing efforts. Setting up a cycle of four of them can take you to the next level altogether. We have many merchants using these marketing automation tools, but the ones who perform the best, use four synced to engage their customers fully over a long stretch of time with increasingly better offers. Here are our recommendations:
First, create a “Custom Offer”. This is a choice when you first click the “New Auto-Responder” button. Custom offers are similar to “We Miss You” offers, except they offer many more options, such as when to send it, redeemable offer or not and more.Custom offers can be set to send minutes, hours or days after an initial sign-up. “We miss you” offers can only be sent days after check-ins. So what we recommend is to make a custom offer that sends a short period of time after their initial sign-up at the kiosk, such as 20-60 minutes. This can make a great first impression by thanking them, sending them to your website for more information on a product, menu item, etc. Depending on your business type this early intro text may be better for a couple hours, or a day or too after sign-up. Just try what works best for you and your customers.
Next, set up 3 “We Miss You” auto-responders for successive periods of time. We often see casual-dining restaurant “We Miss You” offers seem to work best at 30, 60 & 90 days, while other higher return-rate businesses, such as coffee shops or juice bars can be more aggressive and do 15, 30 & 45 days. Another very important point is to make increasingly better offers as the days go by. For example, IHOP does a great job with this. After 20 days with no check-ins, they offer $3 0ff $10. Next at 40 days, they offer $5 off $10. Finally after 60 days, they offer a short stack of pancakes. This is very important to keep the offers getting better. If you didn’t get them back the first time, keep trying. You will get them back eventually.
Set up a digital marketing strategy that works best for your business. For instance, a tire-shop shouldn’t set a “We Miss You” Offer for 30 days with a new tire offer as their customer return rate is much slower than coffee shop would be. So take time and analyze your results. Test and alter the time periods and offers as needed to get you the best results. If you use these marketing automation tools, you will see results. Also, don’t be afraid to go even further. Some merchants have messages going out after 120 & even 360 days with results. So, if you don’t have them working for you yet, don’t wait any longer!


